Creating Your Own Liquid Cultures: A Step-by-Step Process for Beginners
Introduction to liquid cultures: What are they?
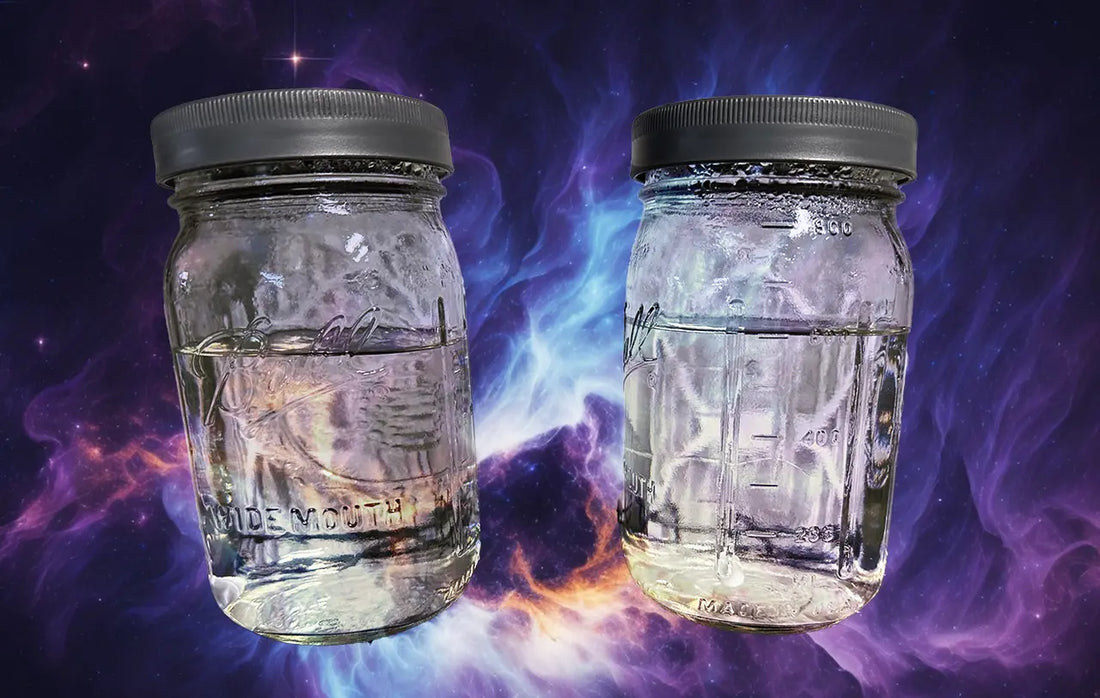
Liquid cultures are a game changer in the world of mushroom growing, making the process faster and more efficient. Think of them as a nutrient-rich soup where mushroom cells thrive, multiply, and get ready to colonize substrates faster than traditional spore syringes. This soup is basically a mixture of sterile water and nutrients, often sugar-based, that supports the growth of mycelium—the root-like structure of fungi. With liquid cultures, you skip the randomness of spore germination, jumping straight to a mycelium-rich solution that’s eager to grow. This approach not only speeds up the process but also increases the success rate of your mushroom cultivation. Plus, it’s a neat trick to have up your sleeve, especially if you’re keen on exploring different mushroom varieties with less hassle and more predictability.

Benefits of creating your own liquid cultures
Creating your own liquid cultures for growing mushrooms offers several rewarding benefits. First, it’s cost-effective. Buying spores or cultures from suppliers adds up quickly, but making your own significantly reduces your expenses in the long run. Second, it gives you quality control. You’ll know exactly what goes into your cultures, allowing you to avoid contaminants and produce healthier, more vigorous mycelium. Third, it speeds up the colonization process. Liquid cultures are more easily absorbed by the substrate compared to spores, meaning faster growth and harvest times. Lastly, it opens up the door for experimentation. You can try culturing different types of mushrooms, mixing strains, or even improving yield and potency, all from the comfort of your own home. This hands-on approach to mycology not only enhances your skillset but also deepens your connection with the process, making each successful harvest more rewarding.
Equipment and ingredients needed for liquid cultures
To dive into making your own liquid cultures, you’ll need some specific pieces of equipment and ingredients. Let’s keep it simple. You’re looking for the basics, right? Here they are. First, grab a pressure cooker. This is non-negotiable; it’s your best friend against contamination. Next, you need jars with lids, preferably ones with injection ports for ease. Don’t have those? Make some using RTV silicone and metal lids. Now, the ingredients – water (yes, the kind from your tap is fine) and some light malt extract or honey. This mix is what your fungi will feast on. Lastly, you need a syringe and needle – sterile, of course, for drawing and inoculating your cultures. Remember, keep everything as clean as possible to avoid the bad kind of microbial party.

Preparing your workspace for liquid culture creation
Before you dive into making your own liquid cultures, setting up a clean workspace is crucial. You’re dealing with tiny lifeforms that don’t like competition from other microbes floating around your house. First things first, find a spot that’s easy to wipe down and isn’t a high-traffic area. A kitchen counter away from the sink or a sturdy table in a spare room works great. Next, you’ll want to thoroughly clean this area. A simple mix of bleach and water does the trick, but make sure to rinse with water afterward to avoid any bleach residue. Once your space is squeaky clean, lay down a layer of aluminum foil. It’s your new, sterile work surface. Now, gather all your tools – jars, syringes, pressure cooker, and anything else you need. Sterilize these too, either by using the pressure cooker or wiping them down with alcohol. Having everything within arm’s reach and knowing it’s all clean means you’re starting off on the right foot. Remember, in the world of liquid cultures, cleanliness isn’t just next to godliness; it’s everything.
Step 1: Sterilizing the equipment
First off, don’t even think about skipping the sterilization process. This is your make-or-break step. If you get lazy here, you’re just asking for contamination. And trust me, you don’t want that. So, how do you sterilize your equipment properly? Simple. Start with your jars and lids. You’ll want to clean them first with soap and water. But don’t stop there. Next, you need to autoclave or pressure cook them. If you’re thinking, “What the heck is an autoclave?” don’t worry. A pressure cooker does the job just fine for us homegrown scientists. Crank it up to 15 psi and let it run for 15 to 20 minutes. That’s it. You kill off any lurking microorganisms, making your jars ready for the clean work that’s coming up. And remember, every piece of equipment that’s going to touch your culture needs the same VIP treatment. So, sterilize like your mushroom project depends on it—because, well, it does.
Step 2: Preparing the nutrient-rich broth
To kick off, you need a nutrient-rich broth, which is like a hearty meal for your mushroom spores. It’s not as hard as it sounds. Grab some light malt extract and a pinch of yeast—this combo is like a gourmet feast for your soon-to-be mushrooms. For every 500ml of water, you’ll want to mix in 10 grams of the malt extract and a tiny sprinkle, about a gram, of yeast. Boil the water first, then stir in the malt extract and yeast until they’re completely dissolved. This mix is crucial because it’s packed with the goodies your spores need to jumpstart their growth into healthy mycelium. After you’ve got your broth looking like a light tea, let it cool down a bit. Remember, too hot, and you’ll risk killing your spores. Aim for a comfortable warmth, like a bath. Once it’s at the right temperature, you’re ready for the next step towards creating your own liquid cultures. Keep it simple, and you’ll be amazed at how your efforts pay off in the growth phase.
Step 3: Inoculating the broth with the culture
After your broth is ready and sterilized, it’s game time—time to introduce your culture to the broth. This part’s simple but crucial. Use a sterile syringe to extract some of the culture from its source, whether it’s spores or a piece of mushroom. Be sure you’re doing this in a clean, as germ-free as possible space to avoid contaminating your culture. Now, carefully inject the culture into the broth. That’s it! You’ve just inoculated your broth, setting the stage for the magic to happen. Keep everything clean, work quickly, and watch your culture grow. Remember, any mistake here could spoil your efforts, so precision and cleanliness are your best friends.
Step 4: Incubation and care for your liquid cultures
After inoculating your jars, it’s time for incubation. This is when you let your cultures grow. You need to find the perfect spot for them. Look for a place that’s dark and has a stable temperature, ideally around 70-75°F. Think of it as finding a cozy spot for your cultures to thrive. You don’t need to check on them every hour, but it’s good to peek once a day to make sure there’s no contamination. If you see any strange colors or smells, it might mean trouble, so keep an eye out. During incubation, give your jars a gentle shake every now and then. This helps to distribute the mycelium evenly throughout the liquid, which encourages healthier growth. This step is simple but crucial. Patience is key here. Depending on what you’re growing, this process can take anything from 7 to 14 days. Remember, good things take time, so no rushing!

Troubleshooting common issues with liquid cultures
When diving into creating liquid cultures, you’re bound to hit a few bumps. Don’t sweat it. Let’s tackle common issues head-on. Contamination is the big bad wolf here. If you see strange colors or smells, your culture probably crashed the party with unwanted guests - bacteria or mold. Toss it. Cleanliness is your best friend next time. Slow or no growth? Could be not enough nutrient, too much light, or the wrong temperature. Double-check your recipe, keep your cultures in a cozy, dark spot, and aim for room temperature. Another sneaky troublemaker is old or poor-quality spores. Fresh is best. Make sure you’re sourcing from a reliable spot. Remember, this is more art than science sometimes. Keep tweaking until you find what works.

Using your liquid cultures: Ideas and applications
Now that you’ve mastered making your liquid cultures, it’s time to put them to good use. Liquid cultures are versatile and can significantly speed up your mushroom cultivation process. Firstly, you can use them to inoculate grains, the next step in growing a variety of mushrooms. This method is straightforward: simply inject a small amount of culture into your sterilized grain jars. It’s fast, efficient, and reduces contamination risks, making your mushroom growing journey smoother.
Another great application is to scale up your production. With a healthy liquid culture, you can expand your mushroom project from a few jars to dozens, maintaining the same genetic quality across all your grows. This scalability is perfect for those looking to move from hobbyist to a more commercial scale.
Don’t forget, your liquid cultures can also be stored for future use. If you find yourself with more culture than you need right now, storing it in the refrigerator can extend its viability. When you’re ready for your next grow, your culture will be waiting, saving you time and effort in starting the process from scratch.
Finally, sharing is caring. If you have fellow mushroom enthusiasts in your circle, consider gifting them a vial of your liquid culture. It’s a great way to spread the love for mushroom cultivation and help others get started on their own cultivation journeys.
In summary, your homemade liquid cultures open a world of possibilities. From expanding your mushroom grows to sharing with friends, the limit is only your creativity.